
Get a Smooth No-Wipe Finish Without Guessing the Cure
No-wipe gel top coat skips the final cleanse—not curing. Learn how to apply it, fix tackiness, match the lamp and remove the full gel system safely.
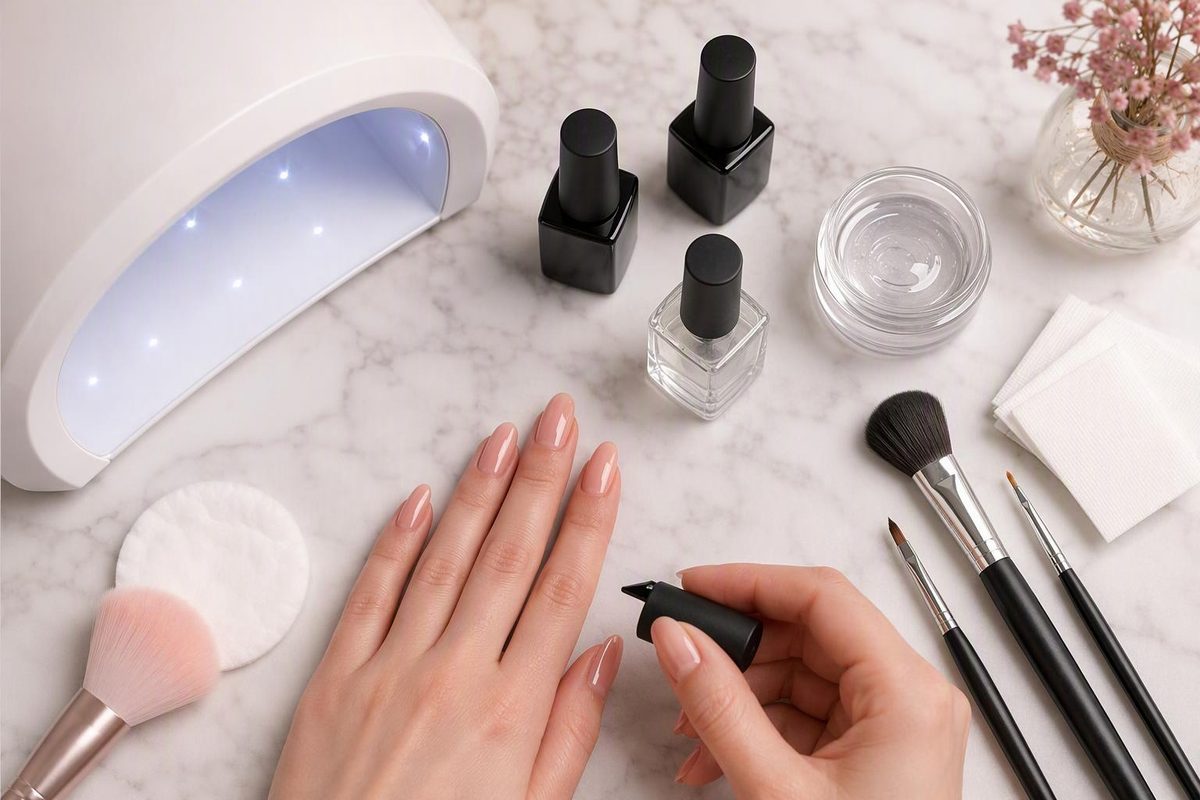
A no-wipe gel top coat is a lamp-cured finishing gel intended to come out smooth and dry without a final cleanse. “No wipe,” “no cleanse” and “tack-free” generally mean the same thing: you skip the cleansing step, but you still must cure the gel with the lamp and exposure time specified for that exact product.
It does not mean no lamp, no curing or no removal. If you are unsure why gel cannot simply air-dry, see Can Gel Polish Dry Without UV Light?.
Select what the bottle says and what happened after curing; the checker identifies the appropriate next step.
No Final Cleanse Needed
Result: The product says no-wipe and the finish is smooth after the specified cure. Do not cleanse it unless the manufacturer’s directions say otherwise.
Cure and finish check
Source note: Decisions reflect the manufacturer protocols and BAD and FDA safety guidance cited in the article. A dry surface does not independently verify complete curing.
No-Wipe Versus Wipe-Off Top Coat
| Feature | No-wipe top coat | Wipe-off gel top coat |
|---|---|---|
| Correctly cured surface | Intended to be smooth and non-tacky | May retain a tacky surface layer |
| Final step | No cleansing unless directed | Cleanse as directed |
| Lamp required | Yes | Yes |
| Removal | Depends on the complete system | Depends on the complete system |
The tack on a wipe-off gel is not automatically evidence of a failed cure. Oxygen at the exposed surface can inhibit free-radical polymerization, leaving what is called an inhibition or dispersion layer. No-wipe formulas are designed to eliminate the need to remove that surface layer (2025 no-wipe top-coat study).
This formulation distinction does not prove that one type is universally shinier, stronger or safer. OPI’s GelColor protocol, for example, specifies a 30-second top-coat cure followed by cleansing. The GelBottle’s Studio Gel guide specifies a 60-second cure for its listed top coats and says no cleansing is needed (OPI application protocol; The GelBottle application guide).
Those examples also show why “30 or 60 seconds” is not a universal curing rule. Each time applies to the named product and protocol, not every gel top coat.
Apply a Thin Coat and Use the Specified Lamp
Follow the directions printed on the bottle or supplied by the system manufacturer. The usual sequence is:
- Finish curing the color or enhancement layer. Do not wipe its tacky layer unless the system specifically directs you to do so.
- Apply a thin, even top coat. Keep gel off the cuticle, sidewalls and fingertip. Remove accidental skin contact before curing.
- Seal the free edge if directed. Avoid leaving a bulky ridge beneath the tip.
- Cure it for the full specified time. Use the recommended lamp and position every nail inside it as instructed. Make sure the thumb is not angled away from the curing lights.
- Observe any cooling instruction. A correctly used no-wipe product should not need cleanser, but some brands specify a wait after curing. Indigo, for example, says to wait at least 60 seconds before applying nail-care products (Indigo instructions).
“UV/LED compatible” on a listing does not establish that every lamp will cure the formula properly. Wavelength output, irradiance, exposure time, coating thickness and hand position can all affect curing. Wattage alone does not establish compatibility or the correct exposure time.
The practical choice is the lamp recommended by the gel manufacturer. The British Association of Dermatologists advises home users to use the recommended lamp because the wrong lamp may leave gel insufficiently cured (BAD guidance).
A Sticky No-Wipe Finish Needs Troubleshooting
After the stated cure and any required cooling period, a no-wipe finish should not remain tacky. If it does, check the product and process before using it again.
- Confirm the product type. The bottle must specifically say no-wipe, no-cleanse or equivalent. A wipe-off top coat may require cleansing after curing.
- Recheck the instructions. Verify the required lamp, exposure time, coating thickness and cooling period using the bottle or current manufacturer guide.
- Check lamp compatibility. A lamp can switch on and appear functional while still being unsuitable for that formula.
- Review hand placement. The thumb and side nails must remain within the illuminated curing area.
- Inspect the application. Thick, pooled or wrinkled gel may cure unevenly.
- Consider the product’s condition. Mixed products, an aged or damaged bottle, dust, or pigment transferred to the top-coat brush may affect the finish.
Do not assume repeated extra lamp cycles will correct an incompatible lamp or an excessively thick layer. Extra exposure does not establish that the coating has cured correctly.
Avoid touching a sticky coating with bare skin. Consult the manufacturer’s troubleshooting instructions and remove the coating according to the complete system’s directions if a proper cure cannot be confirmed.
“No Wipe” Is Not a Safety Certification
The term describes the intended surface finish. It does not mean the formula is free from acrylates, allergens or residual monomer, and a dry-feeling surface does not independently verify complete curing.
A 2025 laboratory study tested films made from three commercial no-wipe top coats. It measured one labeled monomer in each product—DEGDMA, IBOA or HEMA—and found extractable residues after curing. The researchers also noted that no standard method existed to verify complete cure (study and conflict disclosure).
The study is not an independent, market-wide safety verdict. It covered only three products and three monomers, all authors were Wella employees, and the work used controlled films cured in an OPI lamp. Its relevant finding is narrower: a surface that does not need wiping should not be assumed to contain no residual reactive material.
The practical precaution is the same for wipe-off and no-wipe gels: prevent uncured product from touching skin and use the specified curing system. The British Association of Dermatologists links skin contact with uncured (meth)acrylates—and insufficient curing—to sensitization risk (BAD guidance).
The FDA likewise notes that reactive methacrylate monomers can cause redness, swelling and pain in people who have become sensitized. Its guidance advises following label directions and avoiding skin contact (FDA nail-product guidance).
Stop using the product and seek medical advice for itching, swelling, blistering, nail lifting or a rash around the fingers, face or eyelids.
Removal Depends on Every Layer in the Manicure
“No wipe” says nothing about whether the manicure soaks off. A no-wipe top coat may sit over soak-off gel polish, builder gel or a file-off enhancement. Identify every layer and follow the complete system’s removal directions.
For soak-off gel polish, the directions may tell you to break the glossy seal, apply acetone-soaked cotton and wait before gently removing softened material. The American Academy of Dermatology’s home method uses 100% acetone, cotton and a 10-minute plastic wrap, then removes the softened polish with a warm, wet washcloth. It warns that picking or filing off gel polish can significantly damage nails (AAD removal instructions).
That 10-minute method is general guidance, not a universal product time. Multiple layers, nail art and different systems can require different removal steps. Never peel or force off resistant coating; continue with the manufacturer’s soak-off or file-off directions.