
Choose a Nail Polish Base Coat by System and Purpose
Learn what a nail polish base coat does, when you can skip it, how to choose bonding or smoothing formulas, and why gel bases need different instructions.
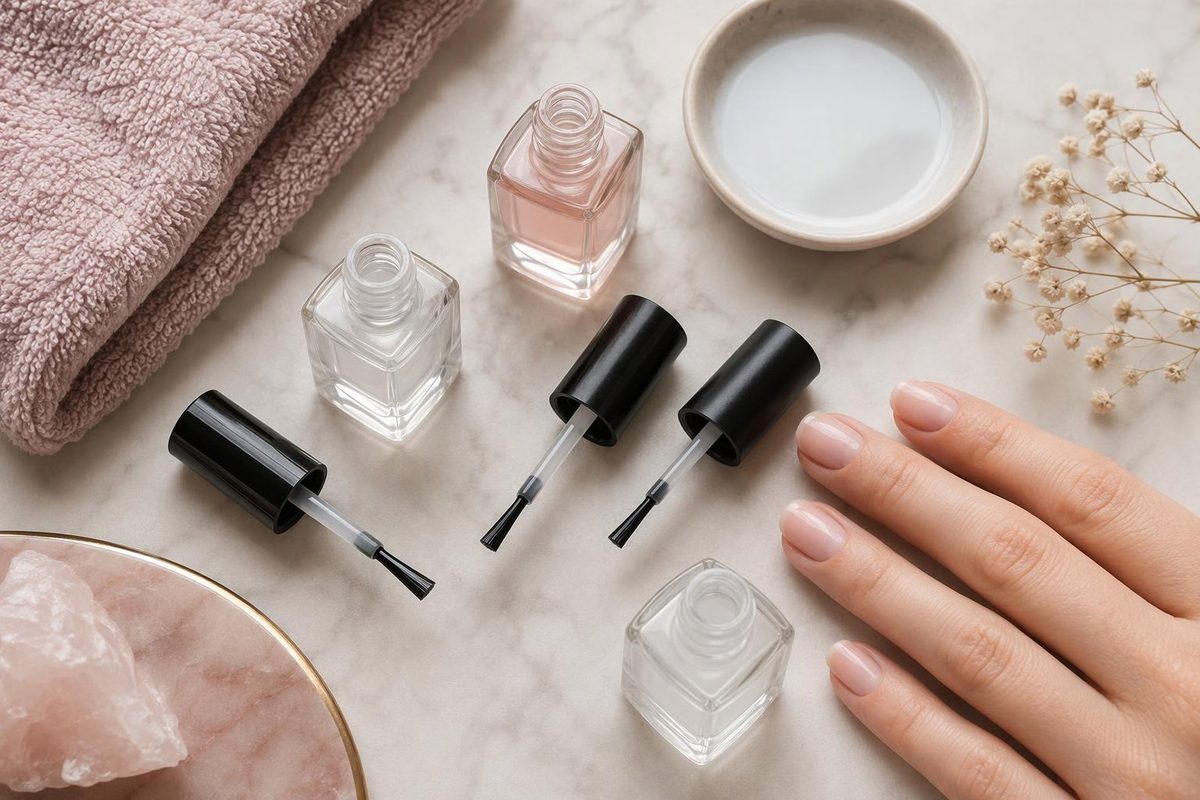
A nail polish base coat goes beneath color. For regular lacquer, it is intended to help color adhere and provide a barrier against pigment staining. Some formulas also smooth the appearance of ridges. For example, Essie describes its Here to Stay base coat as a bonding, stain-prevention foundation.
Start by matching the base to your manicure system. Then choose the function you need—such as better adhesion or a smoother surface.
Do you need a base coat every time?
For conventional nail lacquer, a base coat is a sensible default unless the color’s instructions say otherwise. Essie recommends a base beneath its regular lacquers, but explicitly says its Gel Couture collection does not need one. Gel Couture is an air-drying, gel-like polish, not a lamp-cured gel.
That exception matters: the system’s directions take priority over a blanket rule that every manicure needs a separate base.
A top coat is not automatically a substitute. The base provides the foundation beneath color; the top coat seals the color and supplies the final finish. A product labeled for both roles can be used in both positions. Essie All-in-One, for instance, directs one thin coat beneath color and one coat over dry polish. A clear appearance alone does not tell you which job a bottle is designed to do.
Choose by the problem you want to address
| Your priority | What to look for | Documented example |
|---|---|---|
| Color adhesion | A bonding base coat intended for regular lacquer | Essie says Here to Stay uses color-adhesive technology to help hold polish to the nail. |
| Ridges showing through color | A smoothing or ridge-filling base compatible with lacquer | ORLY directs one coat of Nail Retouch in place of its usual Bonder base before color. |
| Fewer bottles | A product explicitly labeled as both base and top coat | Essie All-in-One has separate application steps beneath and above color. |
These are examples of intended functions, not independently tested rankings. Treat “longwear” and “strengthening” wording as product claims, not promises of a particular number of chip-free days or proof that a coating repairs nail damage. Essie itself notes that wear varies with nail type, condition, and daily activities in its application guidance.
How to apply a regular-polish base
- Prepare clean, dry nails. Remove old polish and cleanse away oil left by hand cream or cuticle products. Essie recommends polish remover and a lint-free pad after nail preparation.
- Apply the directed amount. One thin coat is the instruction for Here to Stay; do not assume that extra layers are required for better protection.
- Follow that base’s drying directions before color. Here to Stay specifically says to let it dry completely. Avoid treating a generic waiting time as universal.
- Apply color and the appropriate top coat. Here to Stay’s sequence is base, two coats of Essie color, then an Essie top coat. Other systems may differ.
These steps follow Essie’s preparation guidance and Here to Stay’s product directions. Thin layers matter: Essie warns that thick base, color, and top-coat layers take longer to dry and can contribute to bubbles, dents, and smudges.
For removal, use the remover appropriate to the whole manicure. Essie’s lacquer-removal guidance uses polish remover on a soaked pad, with a brief pause before wiping.
A gel base needs a different method
Do not apply air-dry timing to a lamp-cured base. For example, OPI’s GelColor Super Strong Base Coat instructions specify a thin, scrubbed-in layer cured for 30 seconds in its Star Light Gel Lamp. That is an instruction for that named product and lamp—not a universal gel cure time.
If your bottle is a gel base, follow its system’s application, compatible-lamp, curing, and removal directions. For rubber-base products, see our rubber base gel guide; they are a separate choice from an ordinary lacquer base coat.